1. Start with the Paper Work!
Place your order online and complete the required information during checkout. We’ll then provide all laboratory documents so you are ready to post your sample.
DIY Soil Sampling
Collecting your own soil samples is a cost-effective way to gain valuable insights into your soil’s nutritional profile. With our DIY soil sampling service, you’ll receive our standard Soil Renovator™ regenerative-focused fertility reports, including a graphed summary of your data, recommended fertiliser program, and detailed explanatory notes.
Follow the steps below
2. Collect Soil Samples
Soil sample collection guide is provided below. Soil testing results are only useful if a suitable sampling technique was followed.
3. Post the samples & Lab documents to:
Environmental Analysis Laboratory Southern Cross University
PO Box 157
LISMORE NSW 2480
EAL Contact: 02 6620 3678
4. Receive your Reports
We'll be in touch with your results withing 2 to 3 weeks and support you to work out any next steps. Using express post does speed up the process.
Report Types
Site Quote Report
Designed for fast, practical application
⭐ Most commonly chosen by landscapers and contractors
Choose this if you need a fast, simplified recommendation or direct fertiliser blend to price and complete a job.
Simplified fertility overview
Minimal explanatory commentary
Direct blend quotation or application formulation
Built for rapid, one-off decision making
GEN Fertility Report
General Nutrient Evaluation (GEN)
⭐ Most commonly chosen for pastoral and broad-acre systems
Choose this if you want clear guidance with multiple fertiliser options and rates, while retaining flexibility in your management decisions.
Broad interpretation of nutrient status
Multiple fertiliser products and rate ranges
Supports informed choice without prescribing a fixed program
Moderate explanatory depth
Optimised Crop Program Report (OCP)
Site-specific, performance-driven nutrition
⭐ Most commonly chosen for horticulture and high-value crops
Choose this if you need a fully tailored fertiliser program for a specific crop on a specific site, optimised for performance and efficiency.
Fully customised independant fertiliser program
Optimised nutrient rates for the target crop and soil
Clear priorities, sequencing, and constraints
Highest level of interpretation and strategic guidance
Laboratory Analysis Options
Standard Test Suite
A comprehensive assessment covering all critical plant nutrients.
Includes:
pH and EC (1:5 water); Available Ca, Mg, K, NH₄, NO₃, P, S; Exchangeable Ca, Mg, K, Na, H, Al; CEC; Bray I & II P; Colwell P; Available Zn, Mn, Fe, Cu, B, Si; Total Carbon, Total Nitrogen, Organic Matter.
Comprehensive Total Test Suite
Measures both available nutrients and total reserves that support long-term biological supply.
Includes:
All Standard Test parameters plus total Na, K, Ca, Mg, S, P, Si, Co, Mo, Se, Zn, Mn, Fe, Cu, B, Al and additional available trace elements.
Standard + Total + Heavy Metals
The most complete nutritional assessment available.
Includes:
All above parameters plus heavy metals: Ag, As, Pb, Cr, Ni, Cd, Hg.
Sample Collection Steps
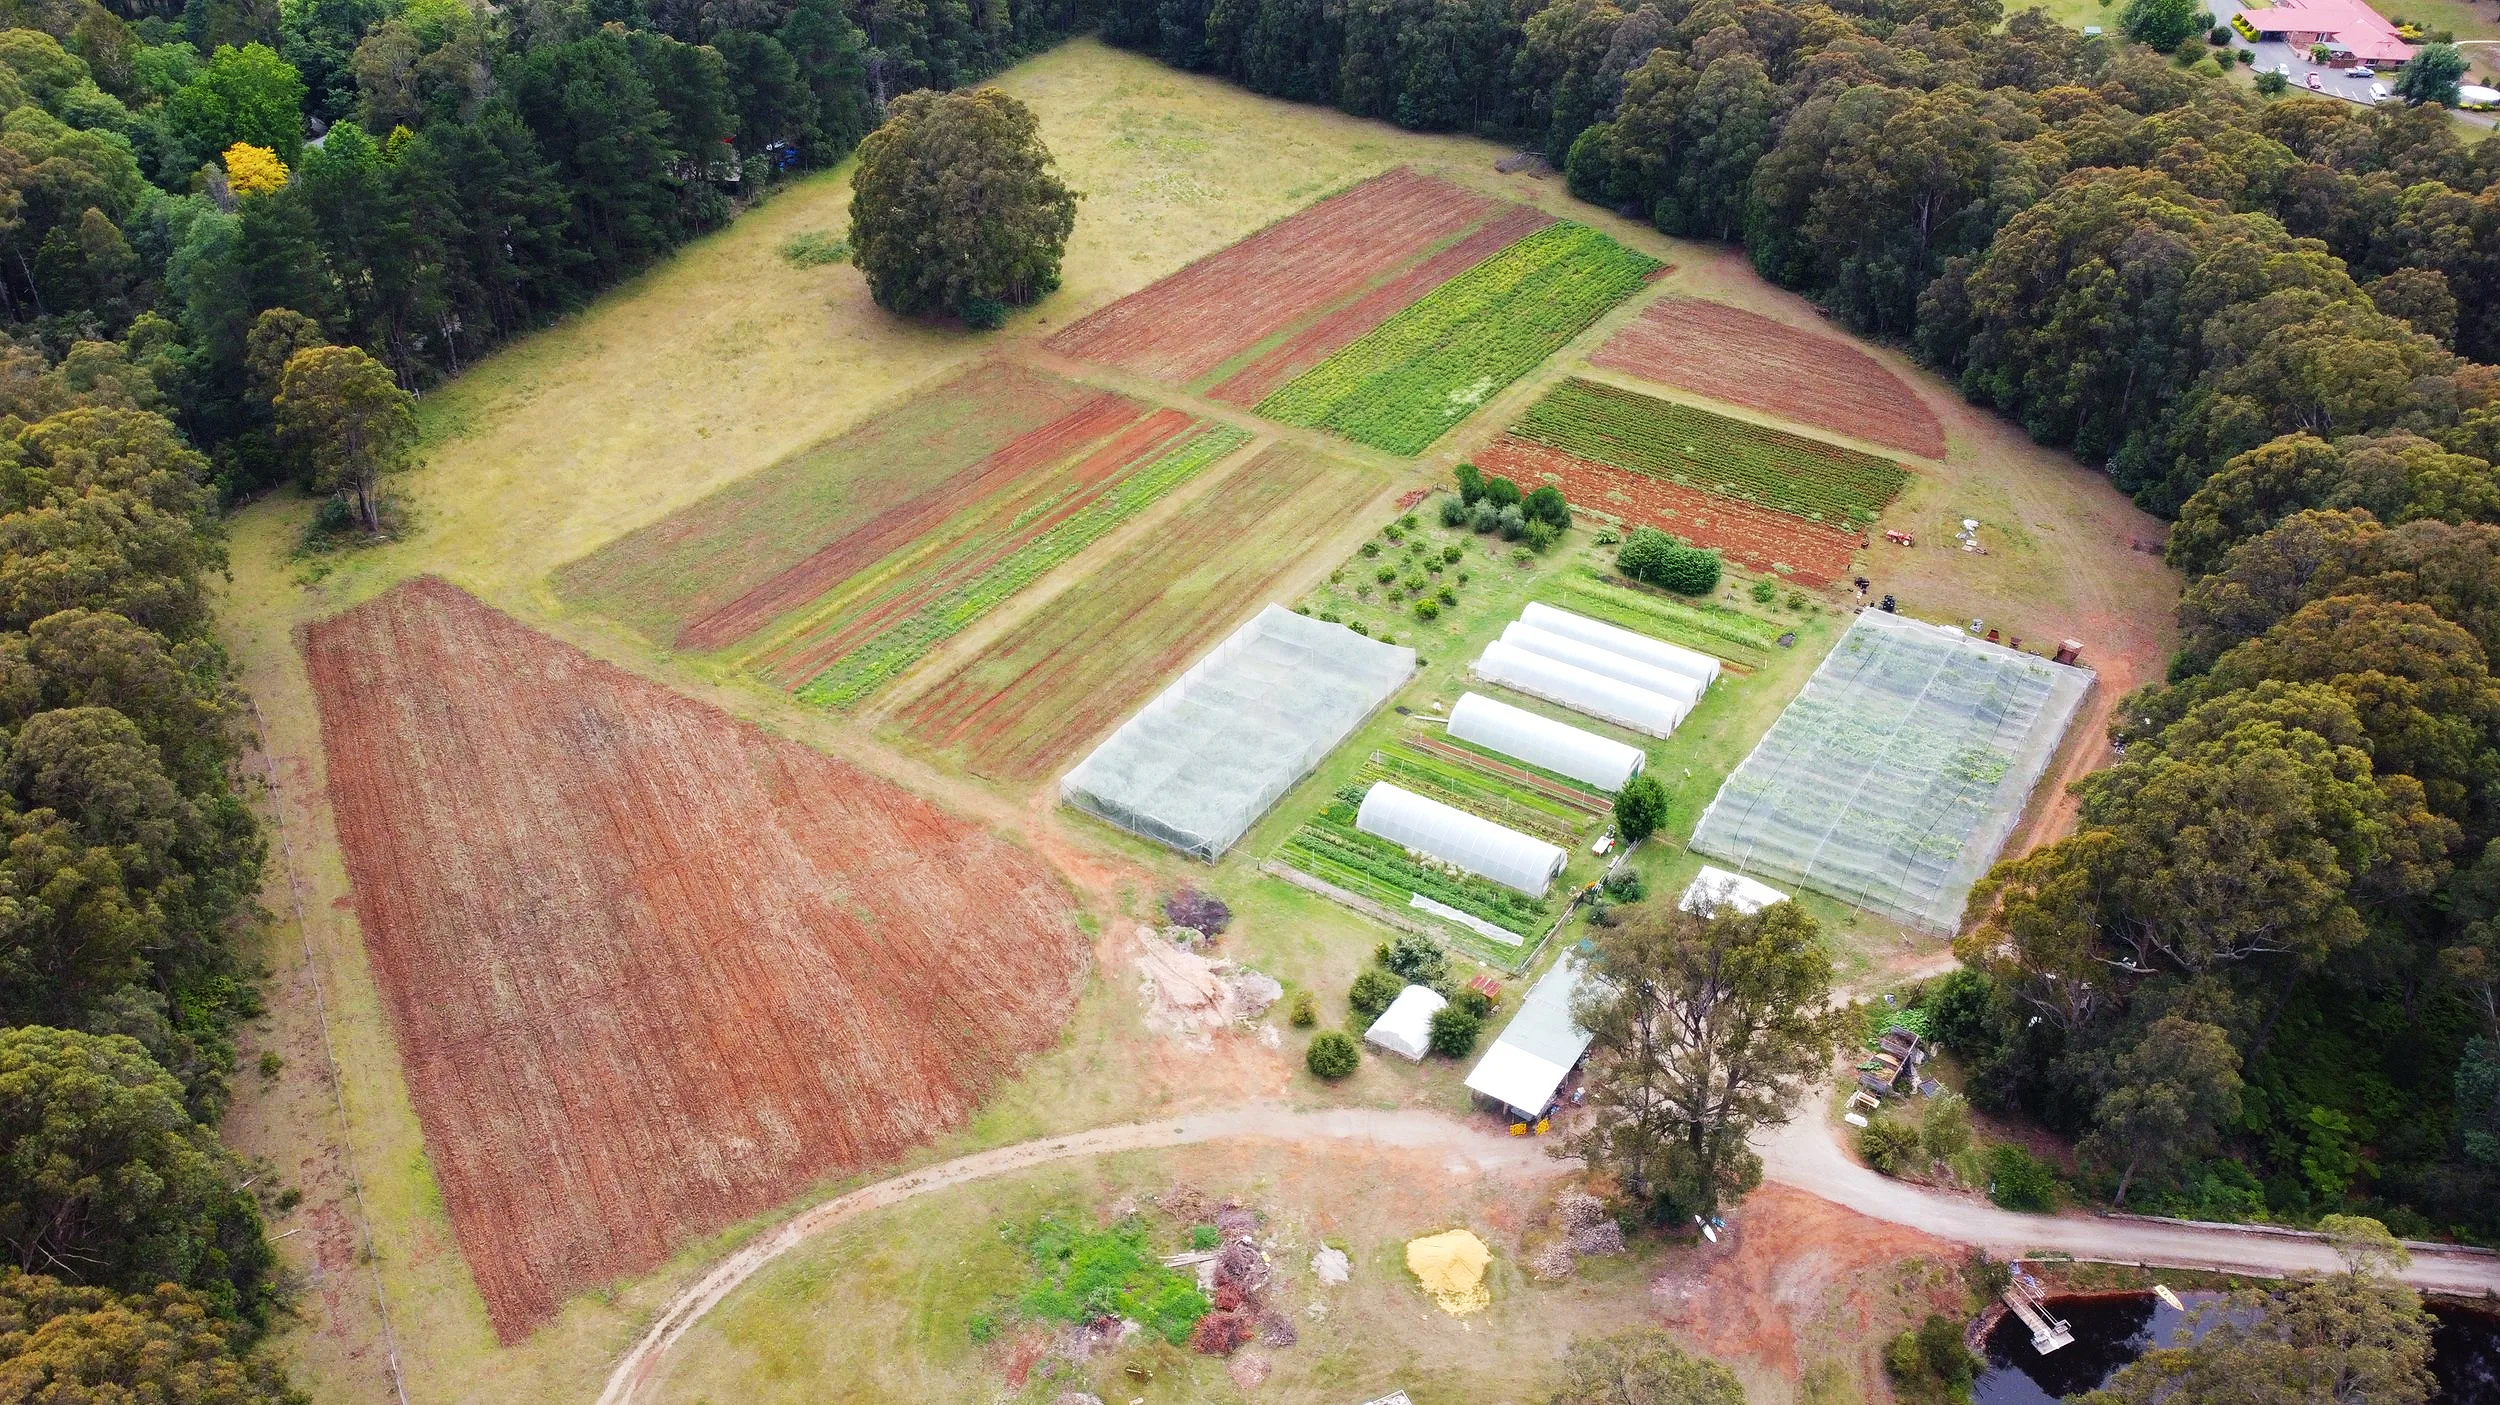
1. Area of interest: The primary goal when collecting a soil sample is to gather a representative sample of the area of interest. This may be a paddock, garden bed or specific region. For example, a sample can be collected to discover the underlying nutritional issue in an area of crop disease. In this case the area of interest is only where disease is present. Combining poor areas and good areas will result in an average that doesn't represent any area well. It is important to collect a sample that represents a clearly defined area, not mixing different soil types, and different management practices.
2. Sampling depth: The sampling depth is chosen based on the root depth or how deep nutrients can be incorporated. Generally, in vegetables a surface sample would be 22cm deep. In pastures, 15cm may be chosen. A deeper sample will result in a deeper amendment program in fertiliser recommendations. This may increase application rates.
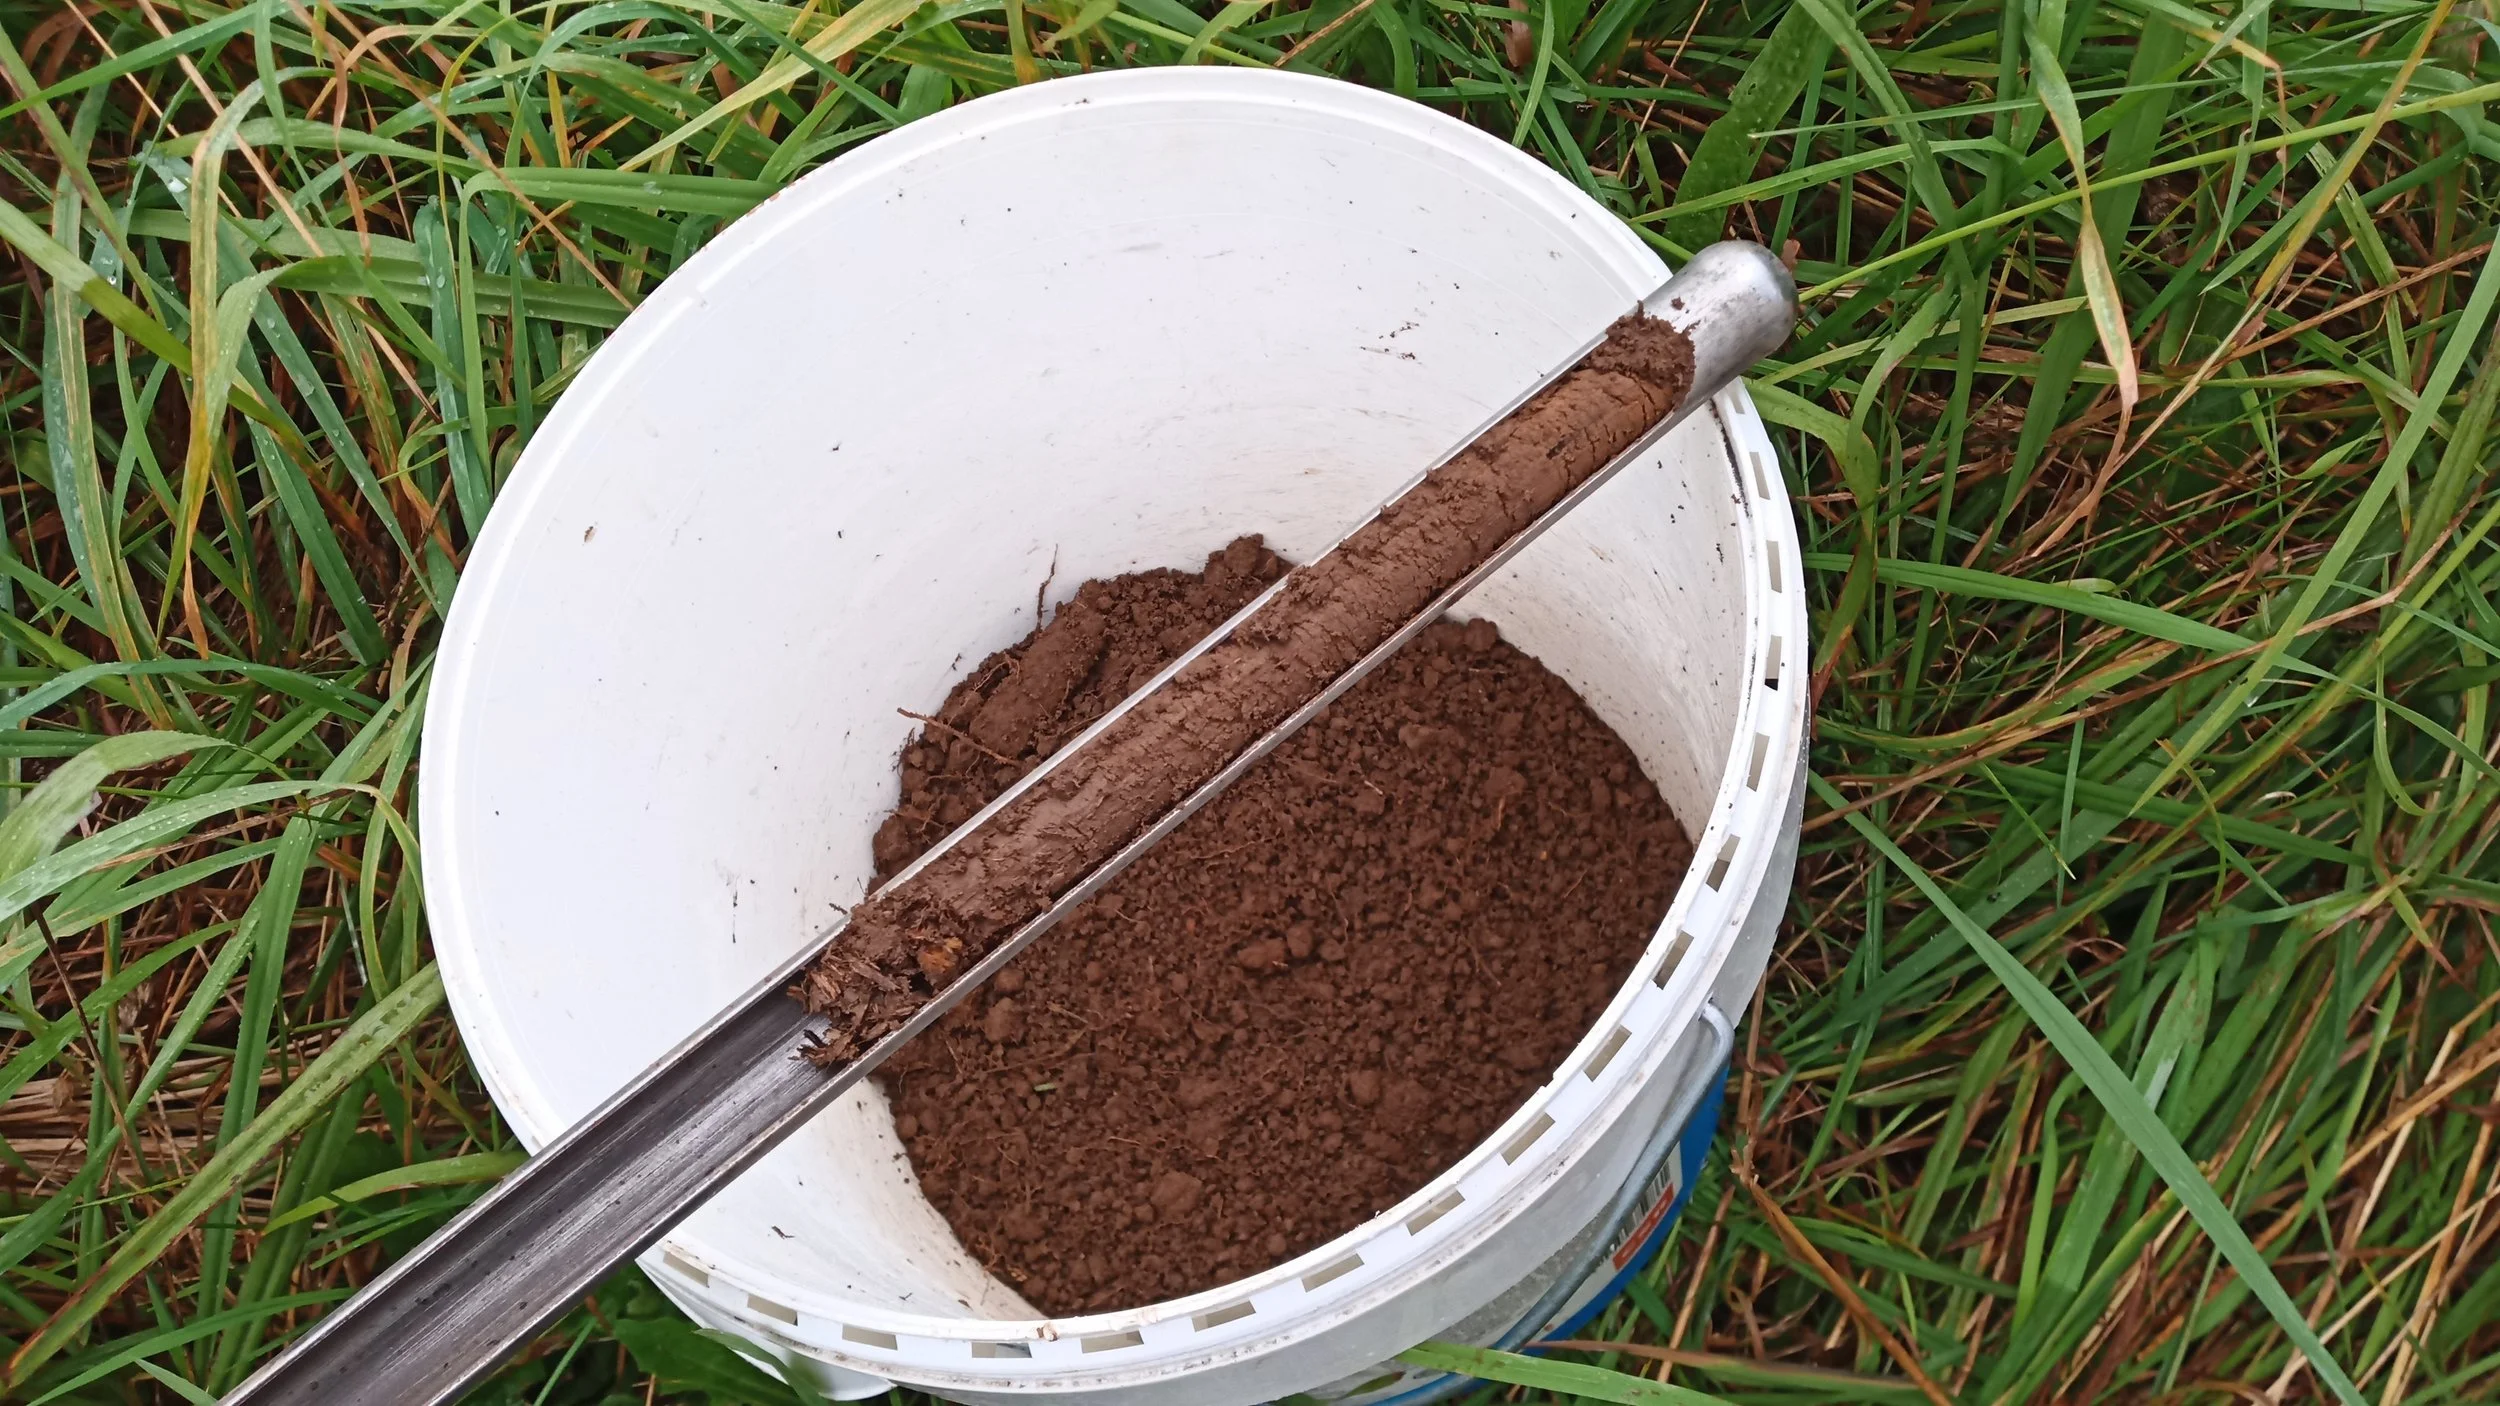
3. Collection tools: There can be a large variability between surface layers and lower layers of the soil. For this reason, it is important to take an even sample throughout the sampling depth. This is effectively achieved with a soil probe to take a cylindrical core. A rust-free shovel is sufficient (rusty buckets and tools can distort micronutrient analysis and should be avoided). A PVC pipe can also be used to take an even sample core.
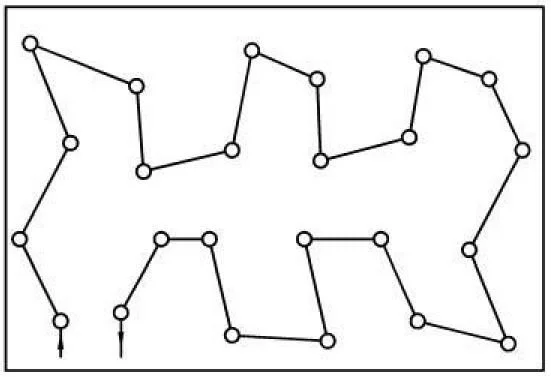
4. Representative sample: To represent an area, at least 10 samples should be collected and mixed together in a clean plastic bucket. This mixing process provides an average of the nutrient levels in the area of interest. The below diagram is an example of multiple samples being taken to represent the field evenly.
Avoid contaminated areas in the vicinity of gateways, animal tracks, animal camps, fences, troughs, trees, fertiliser or lime dumps, planter or any spot which does not represent the area of interest.
5. Sample labeling: After mixing the samples in the bucket thoroughly, fill a sandwich zip lock bag with 200grams or a cup full of soil. Label with the date and “sample name” - area of interest ID. This process can be repeated for each area of interest.
Contact for assistance:
0434 822 199 or i.mot@vitalsoils.com.au